When DupHunter sends selected files or folders to the operating system's Trash or Recycle Bin, it records the cleanup in Removal History when history is enabled. The record includes the original locations and the current status of each item.
Step 1: Open Removal History
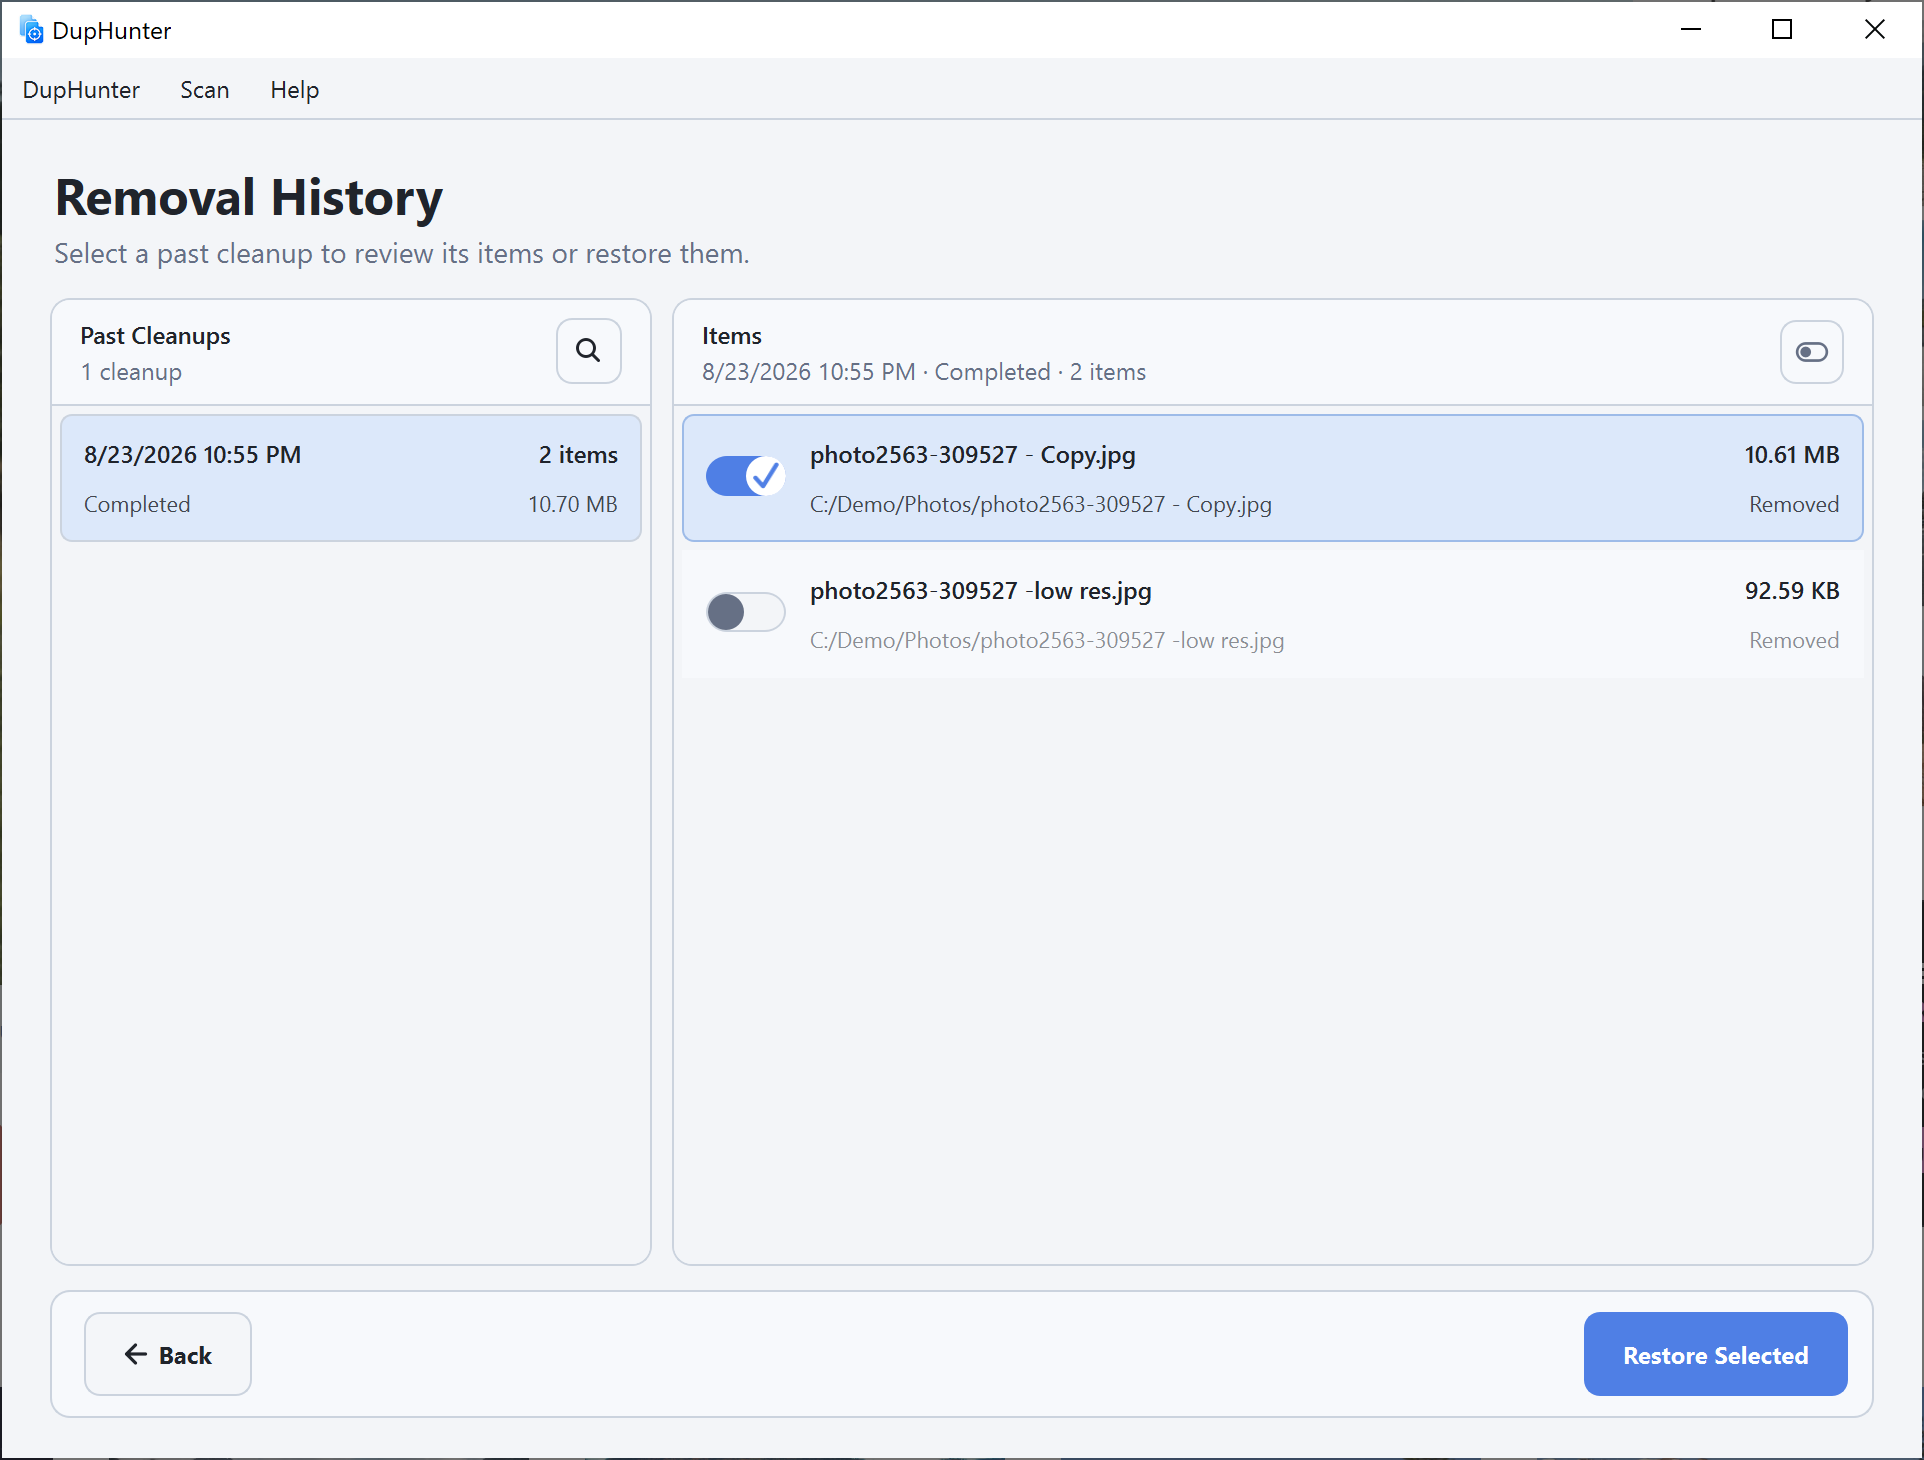
Choose Removal History from the application menu or open it from the summary shown after a cleanup. The left pane lists cleanup sessions; the right pane lists the items belonging to the selected session.
Step 2: Select a cleanup
Choose the cleanup by date and time. Review the item names, original paths, and statuses. Items already restored are labelled accordingly and do not need to be selected again.
Step 3: Choose the items to restore
Check only the files or folders you want back, then click Restore Selected. DupHunter asks you to confirm the number of selected items before starting.
Step 4: Confirm the result
Successfully restored items return to their original locations and their status changes to Restored. If an item is no longer available in the Trash or the destination cannot be used, DupHunter reports the affected item instead of hiding the failure.
Prevent the same mistake next time
On the final review opened with Review Selected Items, uncheck anything uncertain. Keep the default removal safety setting unless you intentionally need to allow the last copy in a group to be removed.